
Introduction
Rangoli for beginners is all about discovering the joy of creating beautiful floor art with simple patterns, vibrant colors, and easy-to-follow steps. Rangoli is a traditional Indian art form that brings joy and color to any celebration, from Diwali to weddings and festivals. While it might seem complex to beginners, Rangoli is an art form that anyone can learn. Whether you’re creating a simple design for a festival or practicing a more intricate pattern, Rangoli can be both a meditative and rewarding experience. In this step-by-step guide, we’ll help you create your first Rangoli design, starting with the basics and giving you the tools and techniques you need to get started.
1. Understanding the Basics of Rangoli
What Is Rangoli?
Rangoli is the art of creating colorful patterns on the floor using materials like colored powders, rice, flower petals, and even colored sand. It’s traditionally made at the entrance of homes to invite positive energy and good fortune during festivals and celebrations. Each design has cultural and spiritual significance, but Rangoli can also be a creative expression of your own.
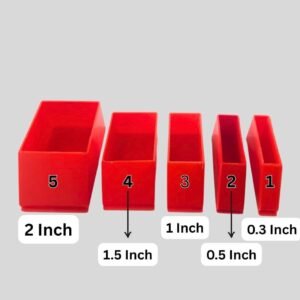
Materials Needed for Beginner Rangoli:
- Colored Powders: These can be bought or homemade by coloring rice flour or cornstarch.
- Rice Flour or Sand: For those looking for an eco-friendly option, rice flour and natural sand work great as base materials.
- Chalk or Pencil: You can sketch the design lightly with chalk or a pencil before applying the colors, which helps maintain symmetry.
- A Flat Surface: Rangoli is typically created on the floor, but you can also experiment on tables or even paper.
Tip: If you’re a beginner, using Rangoli kits with pre-colored powders and stencils can make the process easier and faster.
2. Choosing a Simple Design
Start with Simple Patterns
If you’re just starting with Rangoli, it’s best to begin with simple, easy-to-follow patterns. As a beginner, you don’t need to start with intricate designs right away—there are plenty of beautiful and meaningful designs that are easy to create.
Here are a few simple Rangoli designs to try:
- Geometric Patterns: Simple shapes like squares, triangles, and circles form the basis of many Rangoli designs. These are easy to draw and fill with color.
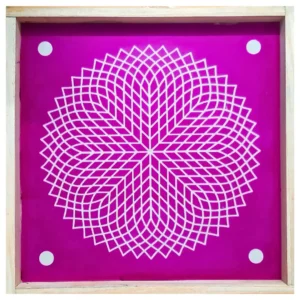
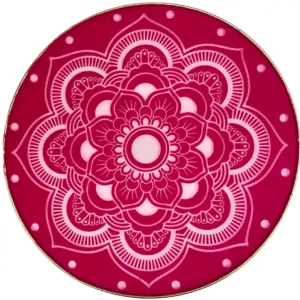
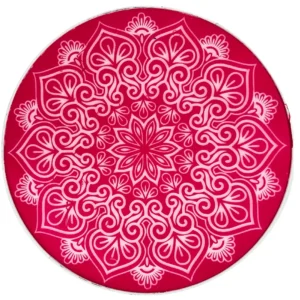
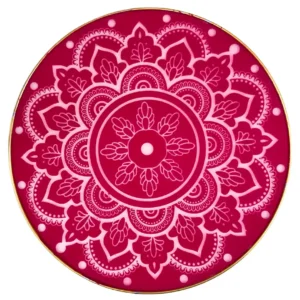
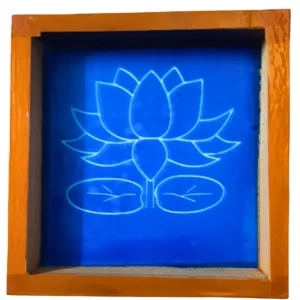
- Floral Designs: Floral patterns are perfect for beginners and can be as simple as a few petals arranged symmetrically. The lotus, for instance, is a great design to start with.
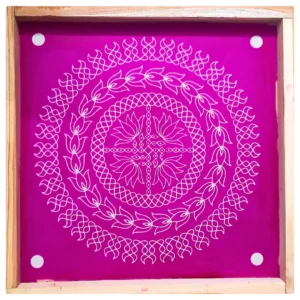
- Dotted Rangoli: Dotted Rangoli patterns are great for beginners. They consist of dots arranged in a grid, and these dots are then connected with lines or shapes to form the design. The symmetrical nature makes it easier to follow.
Tip: Choose a simple, symmetrical design for your first Rangoli. It will give you a great starting point while you learn to control the flow of colors and patterns.
3. Sketching Your Design
Draw the Outline Lightly
Before applying any colors, sketch the outline of your Rangoli design lightly with chalk or a pencil. This gives you a clear path to follow when filling in colors, ensuring that the final pattern is symmetrical and neat.
You can start by drawing a few basic shapes like a square or a circle as the foundation. Gradually add more details to the design as you feel more confident. Keep in mind that you don’t need to be perfect—the beauty of Rangoli lies in its creative expression, not in flawless execution.
4. Applying Colors to Your Rangoli
Fill the Design with Color
Once your outline is complete, it’s time to fill in your design with color. Here are some tips for applying colors:
- Use Even Pressure: When using colored powders, sprinkle them lightly, and make sure to use even pressure so the color is consistent across the surface.
- Blend Colors for Depth: To create beautiful gradients, you can blend two or more colors together. For example, blending yellow into orange or red into pink can give a vibrant, eye-catching effect.
- Layering Colors: For more intricate designs, you can layer colors to create a 3D effect or more texture. This adds depth and dimension to your Rangoli.
Tip: Start by filling the central part of your design and work your way outward. This will prevent accidentally smudging the design as you move around it.
5. Adding Final Touches and Decorations
Incorporating Additional Elements
Once you’ve filled in your basic design, you can add decorative elements to make it even more special:
- Flower Petals: Fresh or dried flower petals can be added to enhance the beauty of your Rangoli. Marigolds and jasmine are often used for their vibrant colors and aromatic appeal.
- Glitter or Sequins: Adding a touch of sparkle with glitter or sequins can make your Rangoli stand out, especially for festive occasions.
- Diya Lamps: During festivals like Diwali, you can place small oil lamps (diyas) around your Rangoli to create a warm, inviting glow.
6. Tips for Maintaining a Clean Rangoli Design
Keep the Design Neat and Tidy
Once your Rangoli is complete, make sure to keep it intact by avoiding any unnecessary movement near the design. If you’re creating Rangoli indoors, place it on a clean, dry surface where dust or debris won’t disrupt the colors. If it’s an outdoor Rangoli, ensure that it’s protected from wind and rain.
Clean-Up:
Cleaning up after your Rangoli can be as simple as sweeping up the powders and flowers. For more eco-friendly options, consider using biodegradable materials that can be safely washed away or disposed of.
Conclusion
Creating Rangoli is an incredibly rewarding and meditative activity that can bring color, beauty, and positive energy into any space. As a beginner, starting with simple patterns and designs will help you build confidence and skill. With practice, you can experiment with more intricate designs, colors, and materials to make your Rangoli even more stunning.
Whether you’re creating Rangoli for a festival or just as a fun, creative expression, remember that it’s the process, not the perfection, that makes it special. So grab your colors, pick a design, and get started with your first Rangoli today!


Leave a Reply