How to Use Metal Rangoli Stencils for Quick, Stunning Floor Art
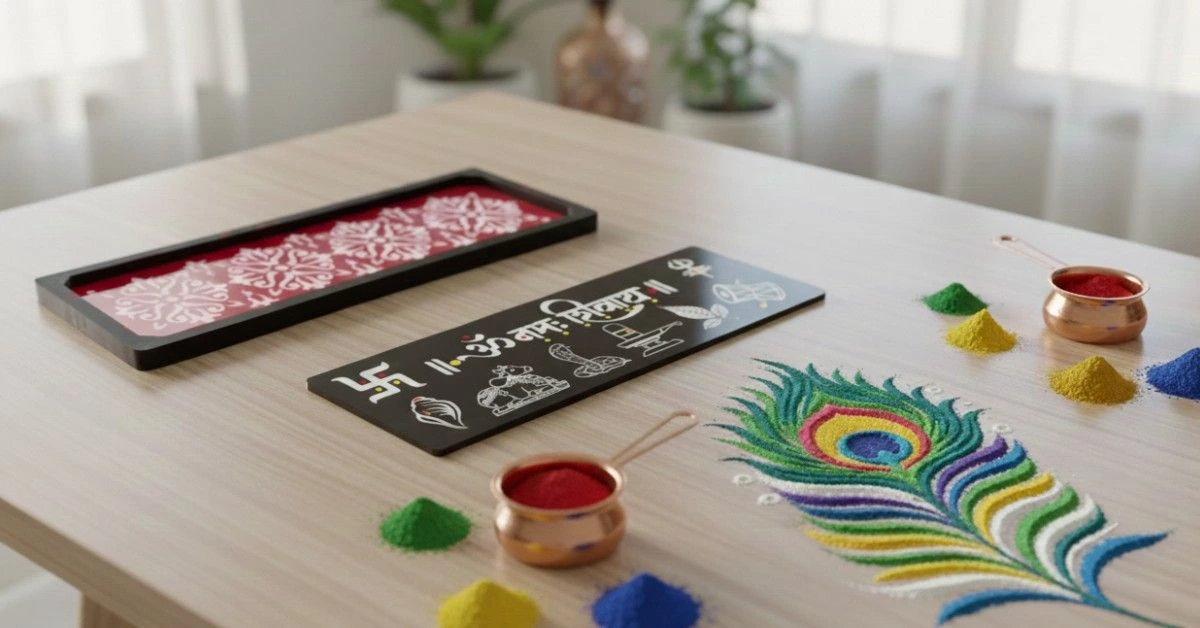
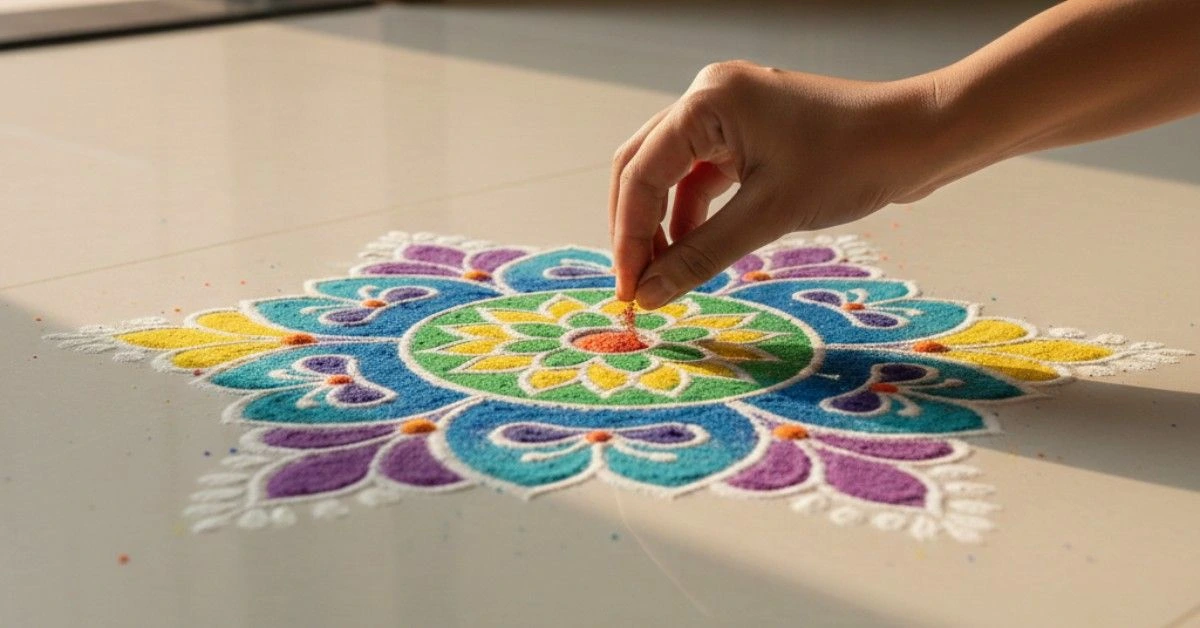
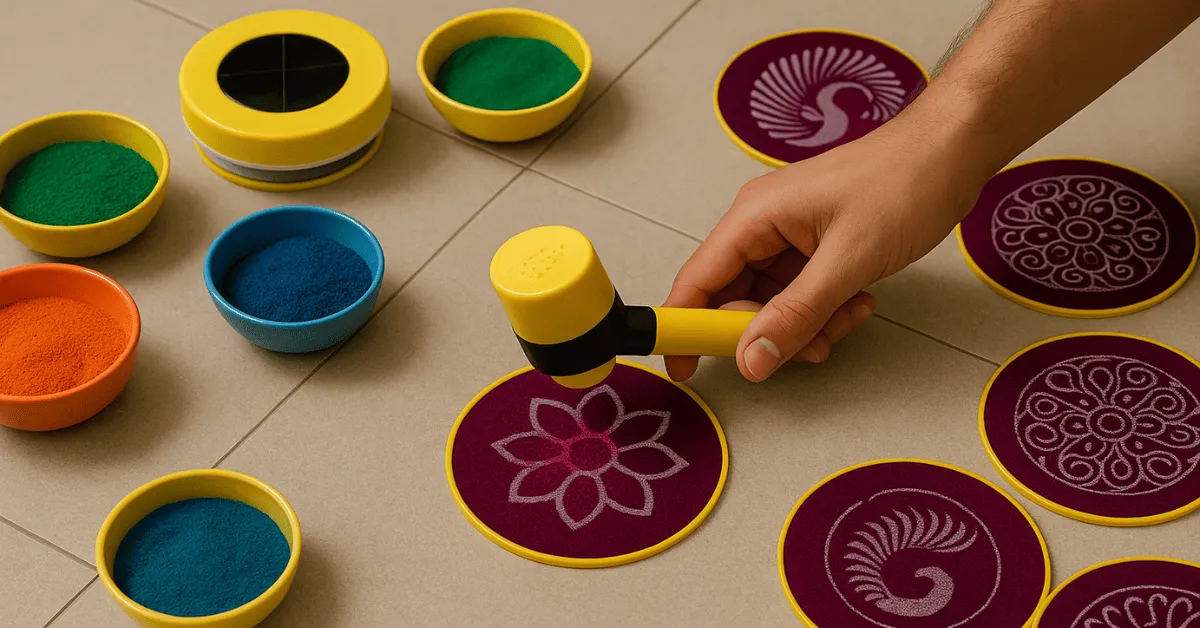
Metal rangoli stencils make it easy to create beautiful and clean floor art without spending too much time or effort. Festivals in India are incomplete without beautiful rangoli adorning the entrance of homes, mandaps, and courtyards. But let’s admit it—drawing freehand rangoli can be time-consuming, tricky, and sometimes frustrating. That’s where metal rangoli stencils come to the rescue. Whether you’re preparing for Diwali, a wedding, or a pooja, these stencils make it easy to create flawless designs in minutes—even if you’ve never tried rangoli before. In this blog, we’ll guide you through how to use metal rangoli stencils step-by-step, along with pro tips to make your floor art look clean, vibrant, and festive-ready. If you’re new to rangoli or want a quick decor solution, this guide is for you. Why Choose Metal Rangoli Stencils? Before we get into the steps, let’s quickly understand what makes metal stencils a great pick: At Rahul Rangoli, we offer a variety of metal stencil sizes and shapes—including half rounds and border designs—making it easier to match your space and occasion. Tools You’ll Need Before starting, gather these items: Step-by-Step Guide to Using Metal Stencils 1. Choose the Right Spot Select a clean, flat surface—ideally near your entrance, mandap, or in front of your pooja room. Make sure there’s no moisture or dust, as it may affect the powder. 2. Place the Stencil Firmly Lay your metal stencil flat against the floor. If you’re using a border or half-round design, align the edge with your doorway or wall. Make sure there are no gaps between the stencil and the floor. 3. Apply Rangoli Powder Gently Hold a pinch of colored powder or use a small sieve to sprinkle it gently over the stencil cut-outs. If you’re layering colors, start with the lightest first. Be careful not to shift the stencil during this step. 4. Lift the Stencil Slowly Once all sections are filled, carefully lift the stencil from one side without shaking. You’ll instantly reveal a beautiful, crisp pattern underneath. 5. Touch Up If Needed If there are minor smudges, use a soft brush or earbud to clean the edges or fill in gaps. You can also add diyas or flower petals to enhance the design. Pro Tips for a Flawless Rangoli Pro Tips for a Flawless Rangoli Why Rahul Rangoli Metal Stencils Stand Out Our stencils are made from premium-quality metal, offering: Plus, each stencil is designed for multiple uses—just wipe clean and store safely. Final Thoughts Rangoli doesn’t have to be a skill passed down over generations. With the right tools, anyone can create stunning floor art that’s both festive and photogenic. Metal stencils are the perfect fusion of tradition and modern convenience. Whether you’re a rangoli newbie or an enthusiast looking to save time without compromising on beauty, Rahul Rangoli’s metal stencils make it easy. Try it once, and you’ll never go back to freehand chaos. Let your floors speak tradition—neatly and beautifully.